Warhounds Squad Loadouts
Tick-the-box templates for four-operator deployments.
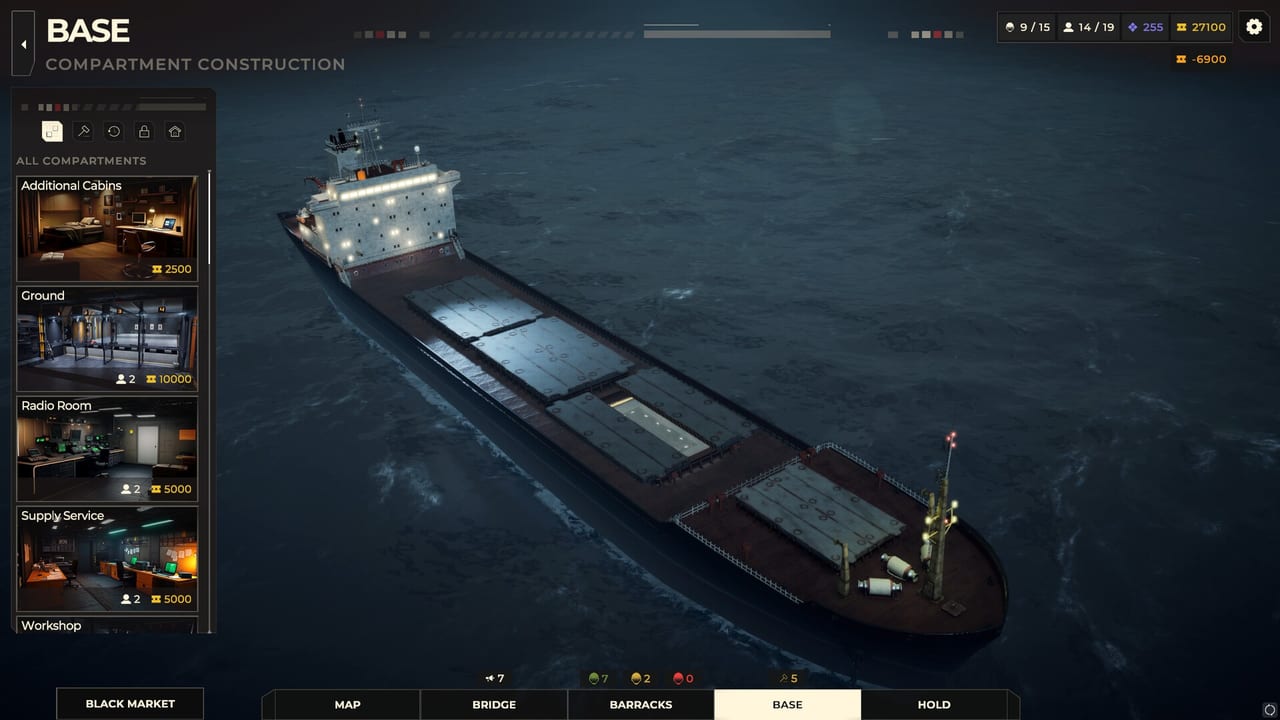
This page is a practical loadout workshop for Warhounds. Use it the night before a contract when you need a four-operator plan that respects real ballistics, cone overwatch, and limited pouch space. Pair it with class builds for per-person detail and difficulty settings if you are raising the stakes. Rankings that feed these templates live on the Tier List Hub.
Universal pre-deploy checklist
Run this list for every squad before you launch:
- Four roles cover push, info, and at least one denial tool (long shot, lane fire, or explosives)
- At least one combat scanner plan exists
- At least two smoke uses exist across the squad
- Each operator has a primary that matches map length
- Extract plan named in one sentence (who holds, who runs, who scans)
- No irreplaceable veteran is the first body through an unknown door
- Med usage plan exists if someone goes down mid-mission
- Bench cover exists if this squad returns injured
If you fail two or more boxes, fix the kit before you argue about skill.
Template A — Balanced core
Roster: Assault / Specialist / Sniper / Machine Gunner
When to use: default urban mix, unknown maps, campaign advancement missions.
Checklist:
- Assault: rifle or carbine, smoke, close secondary if offered
- Specialist: scanner, drone if outdoor, med utility if available
- Sniper: true long rifle, camo if open ground is mandatory
- Machine Gunner: LMG, spare ammo, cone pre-aimed at extract or main street
- Team: agree who breaks left while gunner freezes center
Win condition: Specialist reveals, Sniper or gunner denies, Assault finishes, extract held by gunner cone.
Template B — Breach core
Roster: Assault / Grenadier / Specialist / Machine Gunner
When to use: fortified compounds, nested cover, indoor objectives.
Checklist:
- Grenadier: launcher/demo reserves counted before launch
- Assault: SMG or carbine ready for the hole Grenadier creates
- Specialist: scanner timed for the room behind the wall
- Machine Gunner: covers the hallway you will retreat through
- Smoke reserved for the post-breach reload turn
- Friendly-fire spacing spoken out loud before the first explosive
Win condition: delete architecture, flood the room, leave before the second wave owns your entry hole.
Template C — Recon core
Roster: Specialist / Sniper / Assault / Assault
When to use: large outdoor maps, intel-heavy contracts, assassination-style targets.
Checklist:
- Specialist: scanner + drone priority over luxury weapon mods
- Sniper: perch identified on the deployment brief if possible
- Assault 1: primary finisher
- Assault 2: smoke carrier and emergency flanker
- Optical camo on whoever must cross the longest open lane
- No Grenadier means you will outplay cover, not delete it—budget more time
Win condition: see first, shoot first, refuse fair fights.
Ammo, gadgets, and pouch discipline
Warhounds gadgets officially include tools like drones, combat scanners, smoke, and optical camo, with exo support appearing as you progress. Across templates:
- Scanners are not optional on high difficulty.
- Smoke is cheaper than a veteran funeral.
- Drones are for maps with sky and distance.
- Camo is for the operator whose death ends the contract’s margin.
See gadget tier list if you must cut purchases. See weapon tier list if two primaries are competing for the same coins.
Veteran-aware loadouts
If a unique veteran fills a slot, rebuild the checklist around their trait instead of forcing the generic template. A demo-leaning veteran may turn Template A into a soft Template B. An intel-leaning veteran may let you drop a redundant scanner item. Details stay on veterans; the rule here is “template proposes, trait disposes.”
Extract-focused packing
Many missions are won on the way out. Add this mini-list when the brief mentions timers, VIP walks, or hot LZs:
- One operator assigned to rear security
- One smoke reserved exclusively for extract
- One lane weapon still loaded
- No empty-magazine hero sprint without a cone covering them
Shopping order tied to loadouts
If the armory is poor this week, fund Template A’s Assault rifle and Specialist scanner before cosmetic Sniper upgrades. If you know the next three contracts are fortress hits, fund Grenadier ammo before a second fancy optic. Recruitment should follow the same honesty—recruitment exists so Template B still works when your Grenadier veteran is in medical.
Quick failure autopsy
- Wiped at first contact: scanner missing or Assault opened fog.
- Wiped mid-map: no smoke for reposition, gunner cone facing the wrong street.
- Wiped at extract: all explosives spent early, no rear security.
- Won but three injured: you brought veterans to a recruit lesson.
Fix the matching checklist item; do not only buy a bigger gun.
Link map for this tool
- Individuals: class builds
- Challenge dial: difficulty settings
- Role strength: class tier list
- Roster health: Operators Hub
Close the barracks laptop only when Template A, B, or C is fully ticked. Warhounds is lethal enough that “we will adapt on site” is how highlight reels become memorial walls.
Frequently Asked Questions
Quick answers to the most common questions.
What is the best default Warhounds squad loadout?
The balanced Assault, Specialist, Sniper, and Machine Gunner template is the safest default for unknown maps.
How much smoke should I bring?
Across the squad, plan for at least two smoke uses, and reserve one for extract on hot missions.
When should I use the breach loadout?
Use Assault, Grenadier, Specialist, and Machine Gunner when fortified rooms and heavy cover are the main problem.
Can I swap veterans into these templates?
Yes. Keep the role coverage, then adjust gadgets around the veteran’s trait.