Warhounds Recruitment Guide
Hire a bench that survives lethal contracts and base downtime.
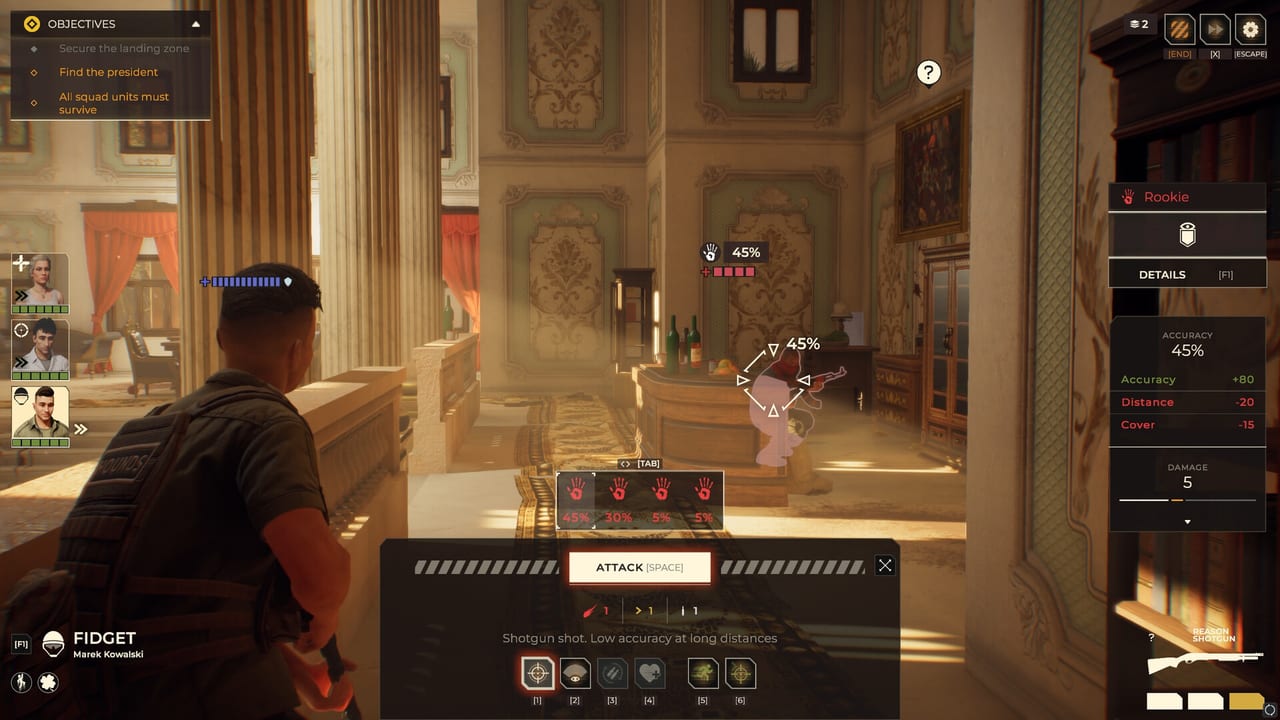
Recruitment is the quiet skill that keeps a Warhounds campaign alive. The Steam tactics game launched August 11, 2026 as a single-player mercenary story: you hire fighters, pay for kit, treat injuries, and choose which bodies walk into the next 25–40 minute contract. This guide explains how to recruit without bankrupting the mobile base or feeding veterans into meat grinders.
Read it with veterans and classes overview. Spend decisions should also respect the class tier list and squad loadouts.
What you are hiring for
You are not collecting a museum. You are covering five class roles across injuries, mission types, and story pressure from the Daamat conflict. A healthy company can field a competent four without any one hospitalized veteran ending the week.
Hire for:
- Class coverage — at least one spare Assault or Specialist early; add gunner/grenadier depth mid campaign.
- Risk appetite — cheap recruits exist to open doors veterans should not open.
- Trait gaps — if your veterans are all loud lane holders, hire a quieter scout-leaning body.
- Budget reality — every hire wants guns, armor, and maybe gadgets. An empty-handed recruit is a liability.
Early campaign hiring plan
- Lock a core of two to three reliable deployers (mix veterans and strong recruits).
- Hire one disposable-but-competent Assault for messy contracts.
- Hire or assign one Specialist-capable body so scanners still deploy when your favorite utility operator is hurt.
- Stop hiring when you cannot afford to arm the new name this week.
It is better to run a sharp four with a tiny bench than a crowded barracks of under-equipped action figures.
Mid campaign hiring plan
Mid campaign is when covert ops, faction vendors, and tougher maps arrive. Expand the bench to cover Sniper and Machine Gunner absences. Consider a Grenadier recruit if your veteran demo specialist is always injured after fortress hits.
Also start thinking about specialization hires: one recruit who only ever trains extract defense, one who only ever trains breach. Specialization makes emergency deploys less awkward.
Medical and logistics first
The base loop includes medical supplies, finances, logistics, and downtime. Recruitment that ignores medical is how you end up with six wounded names and one healthy trainee. Before hiring, check:
- Can you afford treatment for current wounded?
- Do you have enough weapons for the new hire?
- Will this hire force you to skip a useful covert op because cash is gone?
If medical is behind, buy meds, not another personality.
Cinematic fantasy versus barracks math
The official cinematic energy is part of the pitch—stylish operators, big moments, mercenary swagger. Enjoy that tone, then hire like an accountant who has seen too many after-action reports.
Faction and contract consequences
Allied factions and intel choices can change which missions and gear appear. That indirectly changes recruitment: if a faction path floods you with heavy weapons, a Machine Gunner hire becomes more valuable. If another path rewards recon tools, Specialist depth pays off. Revisit hiring after major alliance shifts instead of assuming your first barracks plan lasts forever.
Recruitment checklist before you confirm a hire
- Which class gap does this fill this week?
- Do I already have two operators who do the same job?
- Can I buy a non-C-tier primary immediately?
- Who gets benched if this person joins the A team?
- What mission type will train them safely?
- If they die, does the campaign still have class coverage?
Print that mentally next to the hire screen. Soft heart, hard filter.
Training deployments
Send recruits on contracts that match their class with a veteran mentor in a safe role. Example: recruit Assault finishes while veteran Machine Gunner freezes the street. Do not send three fresh hires alone into a night raid because the payout looked pretty.
Use difficulty settings if you want a gentler training league for new bodies without rewriting the whole campaign—or accept losses as tuition on higher settings.
When to fire, shelve, or stop hiring
Shelve operators who are permanently outclassed and expensive to re-kit. Stop hiring when wages, meds, and ammo are competing for the same coins. Fire only if the game’s systems and your conscience agree; this guide will not push edge-case cruelty. The practical point is simple: empty bunks are fine, empty magazines are not.
Linking recruitment to loadouts
Every accepted hire should trigger a mini loadout pass:
- Assign a primary from the weapon tier list philosophy.
- Assign at least one life-saving gadget philosophy from the gadget tier list.
- Log them into a squad template on squad loadouts or class builds.
If you skip that pass, you did not recruit an operator—you recruited a future casualty report.
Suggested barracks targets
- Early: 5–7 total operators
- Mid: 8–12 with clear A/B teams
- Flexible rule: if more than half the barracks cannot be armed to A-team standards, you hired too many
Return to the Operators Hub when you need the wider roster picture, and keep veterans open whenever a hire decision risks sidelining someone irreplaceable.
Recruitment mastery in Warhounds is knowing the difference between a name that looks cool in the barracks and a name that still has ammo, meds, and a job when Daamat pushes back.
Frequently Asked Questions
Quick answers to the most common questions.
How many operators should I recruit early in Warhounds?
Aim for roughly five to seven total bodies you can actually arm, including veterans—not a huge unarmed crowd.
Should recruits replace veterans?
Recruits cover injuries and risky tasks. Veterans stay central, but they should not attend every messy contract.
What if I am low on money?
Pause hiring. Fund medical, ammo, and one solid primary before expanding the barracks.
Which class should I hire first as a spare?
A spare Assault or Specialist covers the most common early gaps when someone is wounded.