Warhounds Class Builds
Per-class packing priorities for early and mid campaign.
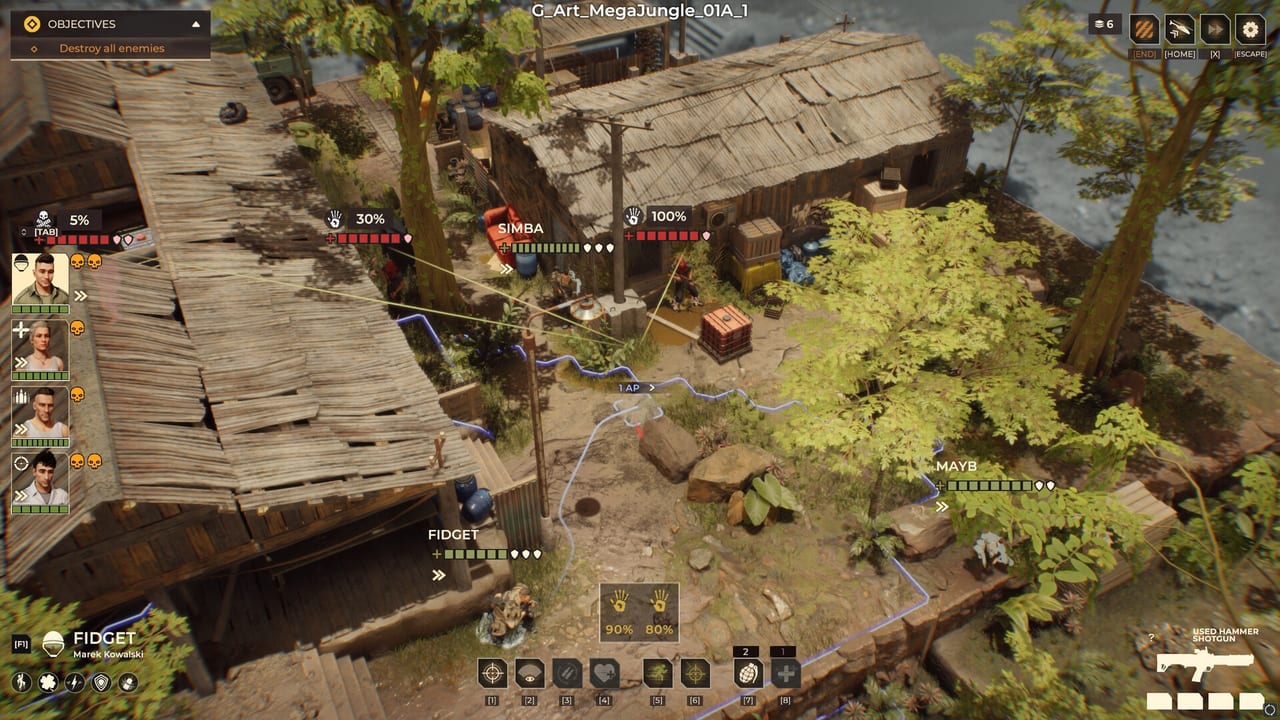
Class builds in Warhounds are loadout patterns, not multiplayer talent codes. This page gives each of the five classes a practical checklist for early and mid campaign on Steam. Use it with squad loadouts when assembling the four, and with difficulty settings when you need to know how unforgiving mistakes will be.
Role identity is detailed on classes overview. Strength opinions live on class tier list.
Shared build rules
- Prefer a trustworthy first-shot primary over a gimmick heavy weapon.
- One life-saving utility item beats a third vanity mod.
- Build for the maps you are actually taking this week.
- Upgrade the operator you deploy most, not the barracks favorite who is always injured.
Assault build checklist
Goal: create and finish flanks.
- Primary: balanced rifle or carbine (SMG if interiors dominate)
- Secondary/sidearm: only if it saves a turn after a dry mag
- Pouch: smoke almost always
- Optional: shotgun identity only for dedicated breach nights
- Mobility mods before prestige cosmetics
- Mentality: do not open unknown rooms without Specialist info
Early spend: reliable primary. Mid spend: armor/mobility or better close kit. Avoid: pure sniper rifles that freeze Assault’s job.
Specialist build checklist
Goal: sell information and utility to the rest of the squad.
- Primary: carbine or marksman that does not demand full Sniper geometry
- Scanner equipped and practiced
- Drone reserved for large outdoor contracts
- Med/support tools if your campaign systems reward them
- Smoke if Assault did not bring enough
- Mentality: a turn spent revealing two threats is not a wasted turn
Early spend: scanner quality. Mid spend: drone or advanced intel kit. Avoid: stripping all utility to chase Assault damage numbers.
Sniper build checklist
Goal: delete priority targets from safe geometry.
- Primary: dedicated sniper system with clear optics identity
- Backup compact weapon for failed perches
- Optical camo when open-field relocation is required
- Positioning plan before the first enemy turn
- Mentality: the first round is the product; everything else is recovery
Early spend: the real sniper rifle. Mid spend: camo or better optic. Avoid: deploying on maps with zero elevation or lane length without a backup plan.
Machine Gunner build checklist
Goal: own a lane and protect extract.
- Primary: LMG or sustained support gun
- Ammo reserves counted for a full 25–40 minute fight
- Cone pre-selected on a chokepoint, not on empty decor
- Smoke for the reload or reposition turn
- Exo later if heavy kit ruins mobility on vertical maps
- Mentality: you are a door, not a tour guide—stop walking every turn
Early spend: a serious support gun. Mid spend: ammo + survivability. Avoid: chasing Assault into rooms your cone cannot help.
Grenadier build checklist
Goal: rewrite cover and flush clusters.
- Launcher/demo tool with ammo counted before launch
- Carbine for turns you cannot soft-delete the problem
- Friendly spacing rules agreed with Assault
- Extra pouch for ordnance only if the brief is fortress-heavy
- Mentality: explode architecture that blocks the win, not every bush
Early spend: enough ordnance for two meaningful deletes. Mid spend: safer or cheaper explosive economy via vendors. Avoid: bringing Grenadier as pure flex on hostage-tight maps without a non-lethal plan.
Budget builds versus luxury builds
Budget night: Assault rifle + Specialist scanner + one smoke + whatever gunner/sniper you can afford.
Luxury night: add camo, drone, exo, and premium optics after medical is funded.
If luxury gear would empty the account needed for recruitment bench depth, choose the bench. Dead campaigns do not wear exotic optics.
Build swaps by mission tag
- Night / interiors: Assault SMG bias, Specialist scanner bias, Sniper optional.
- Desert / airstrip: Sniper and Machine Gunner luxuries pay off.
- Fortress: Grenadier ammo becomes a build requirement, not a nicety.
- Extract VIP: Machine Gunner cone and smoke matter more than fancy launcher flex.
Veteran overlays
When a unique veteran occupies a class, keep the checklist, then add one trait-driven item. Example patterns: stealth-leaning veteran gets camo earlier; demo-leaning veteran gets ordnance earlier; leader-leaning veteran gets safer positioning and better medical priority. See veterans.
Shopping sequence tied to builds
- Assault primary online
- Specialist scanner online
- One denial piece (Sniper or Machine Gunner) online
- Smoke stocks
- Class luxuries (camo, drone, exo, extra ordnance)
This sequence matches early lethality better than spreading thin upgrades across five half-built toys. Validate purchases with weapon tier list and gadget tier list.
Practice drill
Take one low-stakes contract and forbid yourself from deploying until every checklist box for the four chosen classes is ticked. The drill feels slow once; then it becomes muscle memory.
Return to squad loadouts to place these builds into Template A/B/C, and keep the Tools Hub bookmarked for the weekly loop.
A Warhounds class build is finished when the operator’s first turn options are obvious—not when the inventory glows.
Frequently Asked Questions
Quick answers to the most common questions.
What should I build on Assault first?
A reliable rifle or carbine plus smoke. Add SMG or shotgun identity only when interiors demand it.
Does Specialist need a strong weapon?
Specialist needs an adequate primary, but scanners and utility usually outrank luxury damage mods early.
When do I build a Grenadier heavily?
When fortress maps and heavy cover dominate your next contracts and you can afford the ammo.
Should Machine Gunners take exo gear?
Yes once affordable on vertical or long campaigns—mobility fixes are a mid-campaign luxury upgrade.